The Ultimate Sauna and Cold Plunge Routine
Discover practical protocols for your sauna and cold plunge routine. Learn the best order, timing, and how to track your contrast therapy sessions.
The practice of combining extreme heat with deliberate cold exposure has been a cornerstone of Nordic and Eastern European wellness traditions for centuries. Today, developing a reliable sauna and cold plunge routine is a popular way to build mental resilience, enhance relaxation, and optimize a regular self-care schedule.
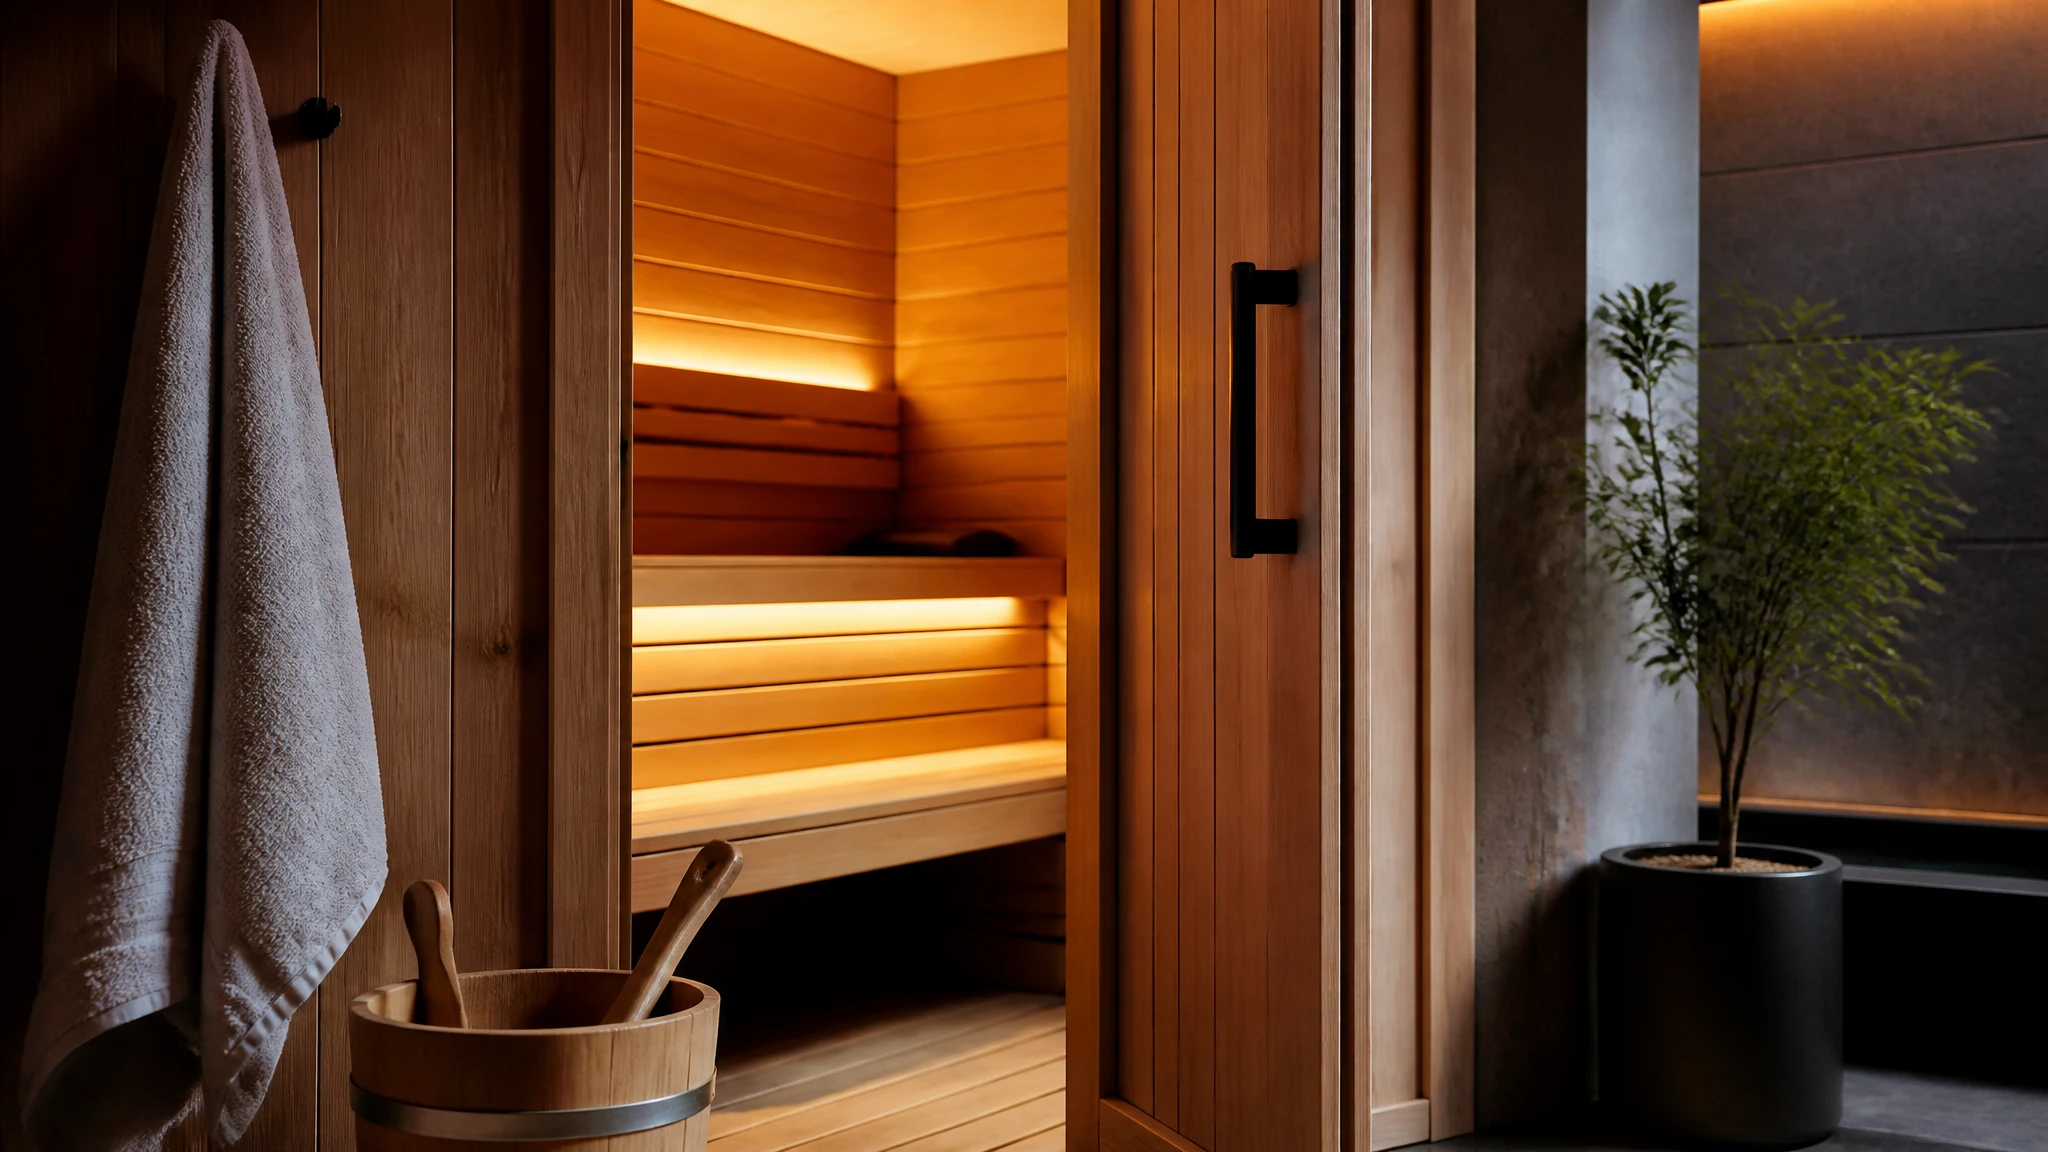
Whether you have access to a commercial facility or you have built a dedicated space in your backyard, understanding the mechanics of contrast therapy can completely change the way you recover from daily stress. However, with so much information available, it can be difficult to know exactly how to structure your session. How long should you stay in the heat? How cold should the water be? What is the correct sauna cold plunge order?
This guide will detail practical protocols for your contrast sessions, clarify the timing and order, and provide actionable tips for building a habit you can maintain over the long term.
Understanding Contrast Therapy
At its core, a sauna and cold plunge protocol relies on the concept of thermal contrast. By moving your body from an environment of intense heat to one of intense cold, you encourage your circulatory system to work in unique ways. In the sauna, your body responds to the heat by sending blood to the surface of the skin to cool down, a process known as vasodilation. When you immediately enter cold water, the opposite occurs. Your blood vessels constrict rapidly, pulling blood away from the extremities and toward the core to protect your vital organs, a process called vasoconstriction.
This rapid shift is a mild, deliberate stressor. Unlike chronic stress from daily life or poor sleep, this is an acute, controlled stressor that you choose to expose yourself to. Practitioners often find that the sharp mental focus required to sit calmly in cold water translates to a greater sense of calm and mental clarity throughout the rest of the day.
While many exaggerated medical claims surround contrast therapy, the subjective benefits are undeniable. Regular practitioners consistently report feeling deeply invigorated immediately after a session, followed by a profound sense of physical relaxation that can support better evening rest.
The Golden Question: Sauna Cold Plunge Order
One of the most common questions from beginners is determining the correct sauna cold plunge order. Should you plunge first to wake up, or start with the heat?
The standard, most widely accepted protocol is to start with the sauna (heat) and follow it with the cold plunge (cold).
Starting with the heat allows your body to relax, your muscles to loosen, and a deep sweat to develop. The heat dilates your blood vessels and raises your core body temperature. When you transition from the sauna directly into the cold plunge, the dramatic drop in temperature creates the distinct shock and invigoration that defines contrast therapy.
If you were to start with the cold plunge, it would take significantly longer to warm up in the sauna afterward, and you would miss out on the rapid vascular constriction that occurs when a heated body is suddenly exposed to cold. Therefore, for almost all standard routines, heat comes first, cold comes second.
Pre-Session Preparation
A successful sauna and cold plunge routine begins long before you step into the heat. Proper preparation ensures your body is ready to handle the thermal stress and helps prevent lightheadedness or premature fatigue.
Hydration is Essential
Both sweating in the sauna and shivering in the cold require adequate hydration. Begin drinking water at least an hour before your session. Because the sauna will cause you to lose a significant amount of water and essential minerals through sweat, consider adding an electrolyte blend or a pinch of sea salt to your water. Avoid heavy meals immediately before starting your routine, as your body will need to redirect blood flow away from your digestive system to manage your core temperature.
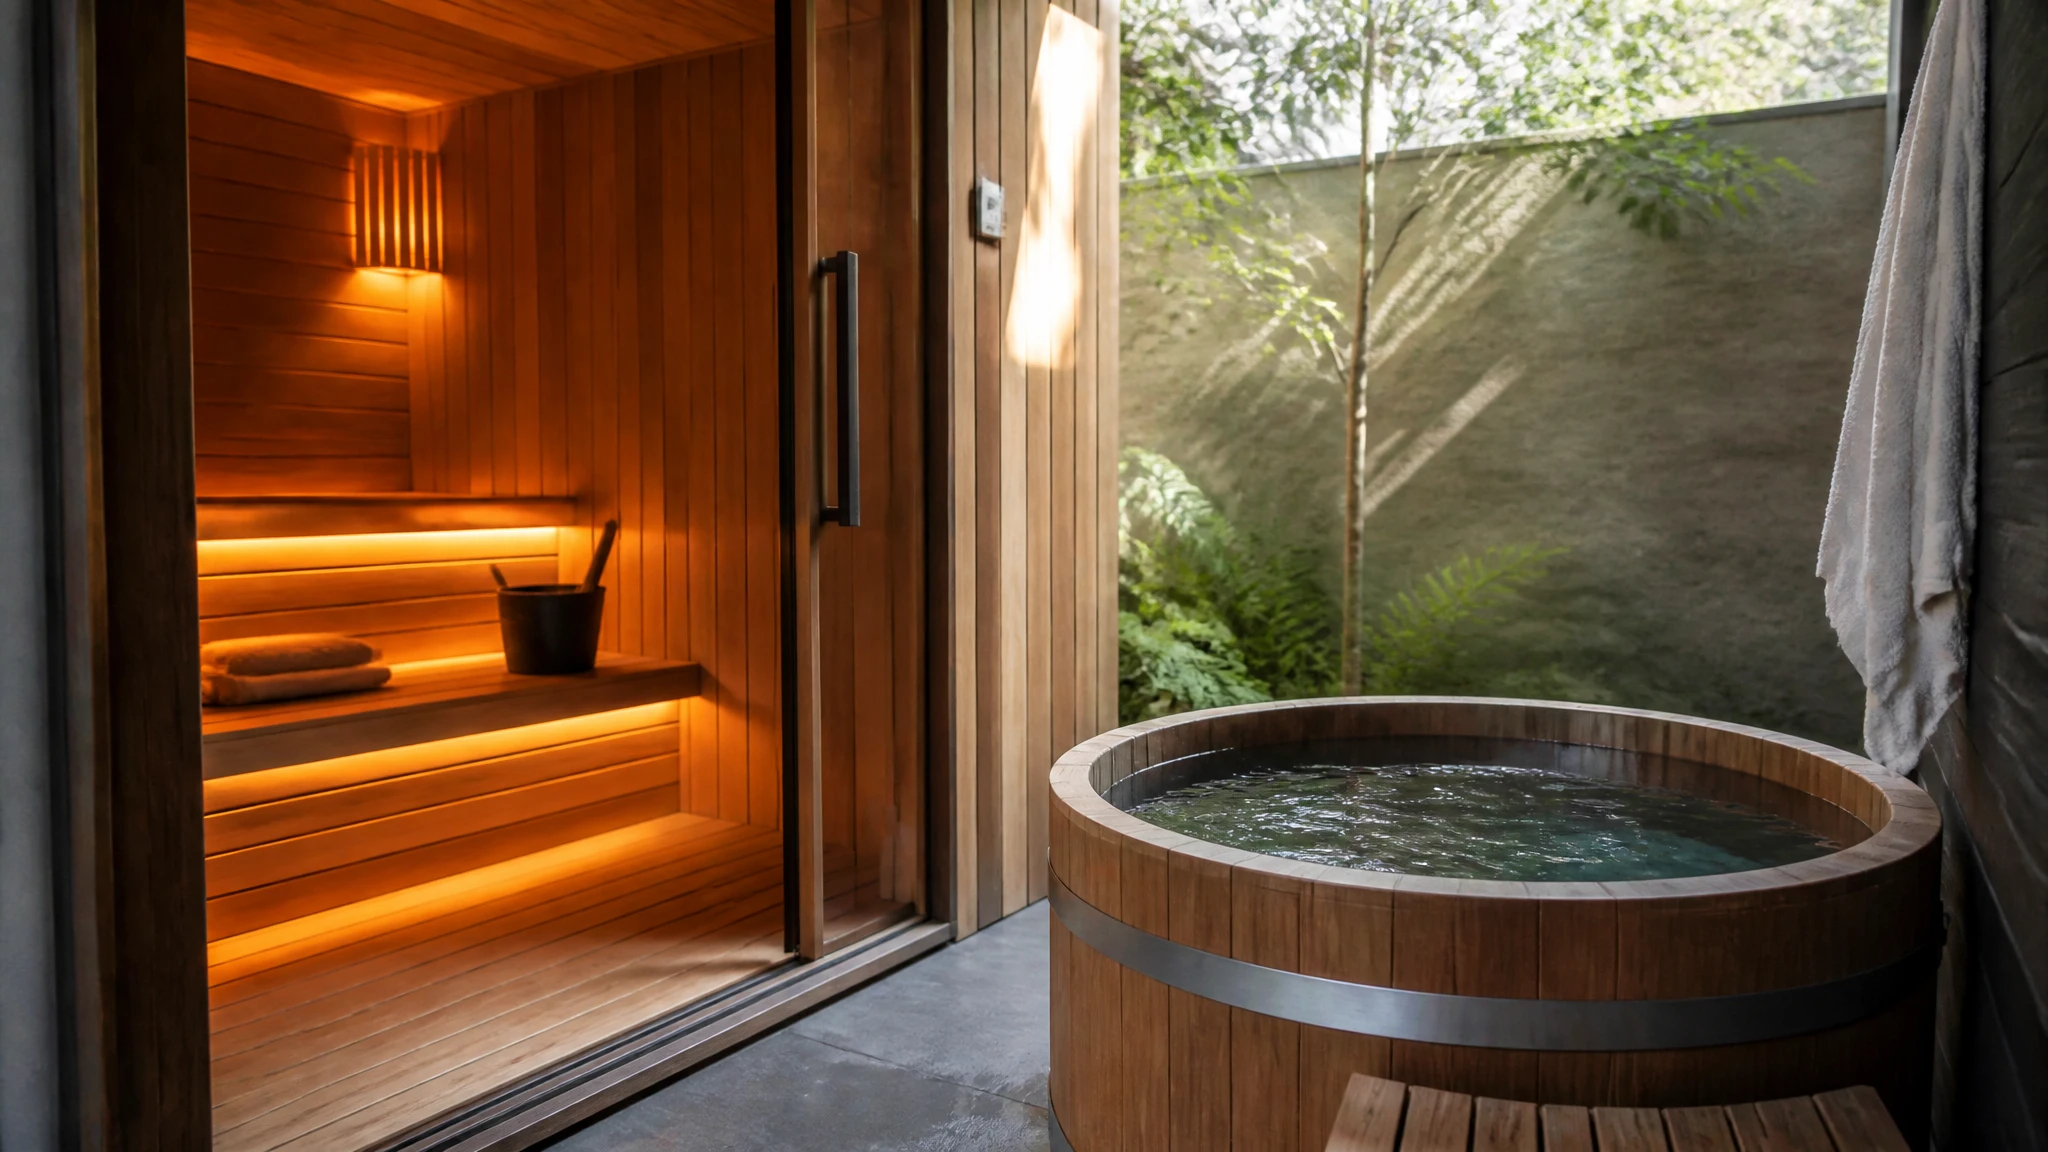
Hygiene and Setup
Always take a quick, warm shower before entering the sauna. This removes surface dirt, lotions, and body oils, allowing your pores to breathe and sweat freely. It also ensures you are keeping your sauna environment clean.
Before you begin, prepare your station. Place your water bottle where you can easily reach it between rounds. Lay out your towel, robe, and any timers you might need. Having everything set up in advance means you will not have to break your mental focus during the quick transitions between the hot and cold environments.
Designing Your Sauna and Cold Plunge Routine
There is no single correct way to perform contrast therapy. The best sauna and cold plunge protocol is the one you can practice consistently and safely. Below are three practical routines tailored to different experience levels.
Protocol 1: The Beginner Routine
If you are new to extreme temperature exposure, your primary goal is to familiarize your body with the sensations without overwhelming your system. The beginner routine focuses on a single contrast cycle.
- The Heat Phase (10 to 15 minutes): Enter the sauna. Sit on a lower or middle bench where the air is slightly cooler. Focus on slow, nasal breathing. If you feel dizzy or uncomfortably hot before the 10-minute mark, step out. Always listen to your body.
- The Transition (1 to 2 minutes): Exit the sauna. Take a brief moment to catch your breath. If you are sharing a cold plunge, take a quick rinse in the shower to wash off your sweat.
- The Cold Phase (30 to 60 seconds): Step into the cold plunge. As the cold hits you, your natural instinct will be to gasp and tense up. Actively fight this urge. Focus on taking long, controlled exhales to calm your nervous system. Submerge yourself up to your neck if possible.
- The Recovery (10 to 15 minutes): Exit the cold plunge. Pat yourself dry and put on comfortable clothes or a robe. Allow your body to warm up naturally at room temperature while drinking water.
Protocol 2: The Intermediate Contrast Protocol
Once you are comfortable with the initial shock of the cold plunge and the endurance required for the sauna, you can begin cycling the contrast to amplify the experience. The intermediate protocol involves multiple rounds of hot and cold.
- Round 1 Heat (15 minutes): Enter the sauna. Find a comfortable position on a middle or top bench. Relax and let your core temperature rise safely.
- Round 1 Cold (1 to 2 minutes): Transition to the cold plunge. Focus on maintaining calm, steady breathing.
- Round 2 Heat (15 minutes): Immediately return to the sauna. You will notice that you may not start sweating as quickly in this second round because your skin is cooled, but your core temperature will eventually rise again.
- Round 2 Cold (2 to 3 minutes): Enter the cold plunge for your final round. Try to remain as still as possible to break the thermal layer of water around your skin.
- Active Recovery: Exit the cold plunge. You can do some light movement, like walking or gentle stretching, to help your body generate heat naturally.
Protocol 3: The Advanced "Nordic" Cycle
This routine is reserved for experienced practitioners who have spent months safely adapting to extreme temperatures. It utilizes three to four full cycles and emphasizes ending on cold to force the body's natural metabolic processes to rewarm the core, a concept often referred to as the Søeberg Principle.
- Cycles 1 and 2 (15 to 20 minutes Heat, 2 to 3 minutes Cold): Alternate back and forth between the sauna and the cold plunge. Keep rest periods between cycles brief, using the time only to hydrate and rinse off.
- Cycle 3 (15 minutes Heat, 3 minutes Cold): During this final round in the sauna, you may feel deep fatigue and intense sweating. Stay hydrated and mindful. Enter the cold plunge for the final time.
- The Natural Rewarm: Upon exiting the final cold plunge, do not immediately take a hot shower or jump back into the sauna. Instead, dry off and allow your body to naturally generate its own heat. This requires your metabolism to engage actively to restore your baseline temperature.
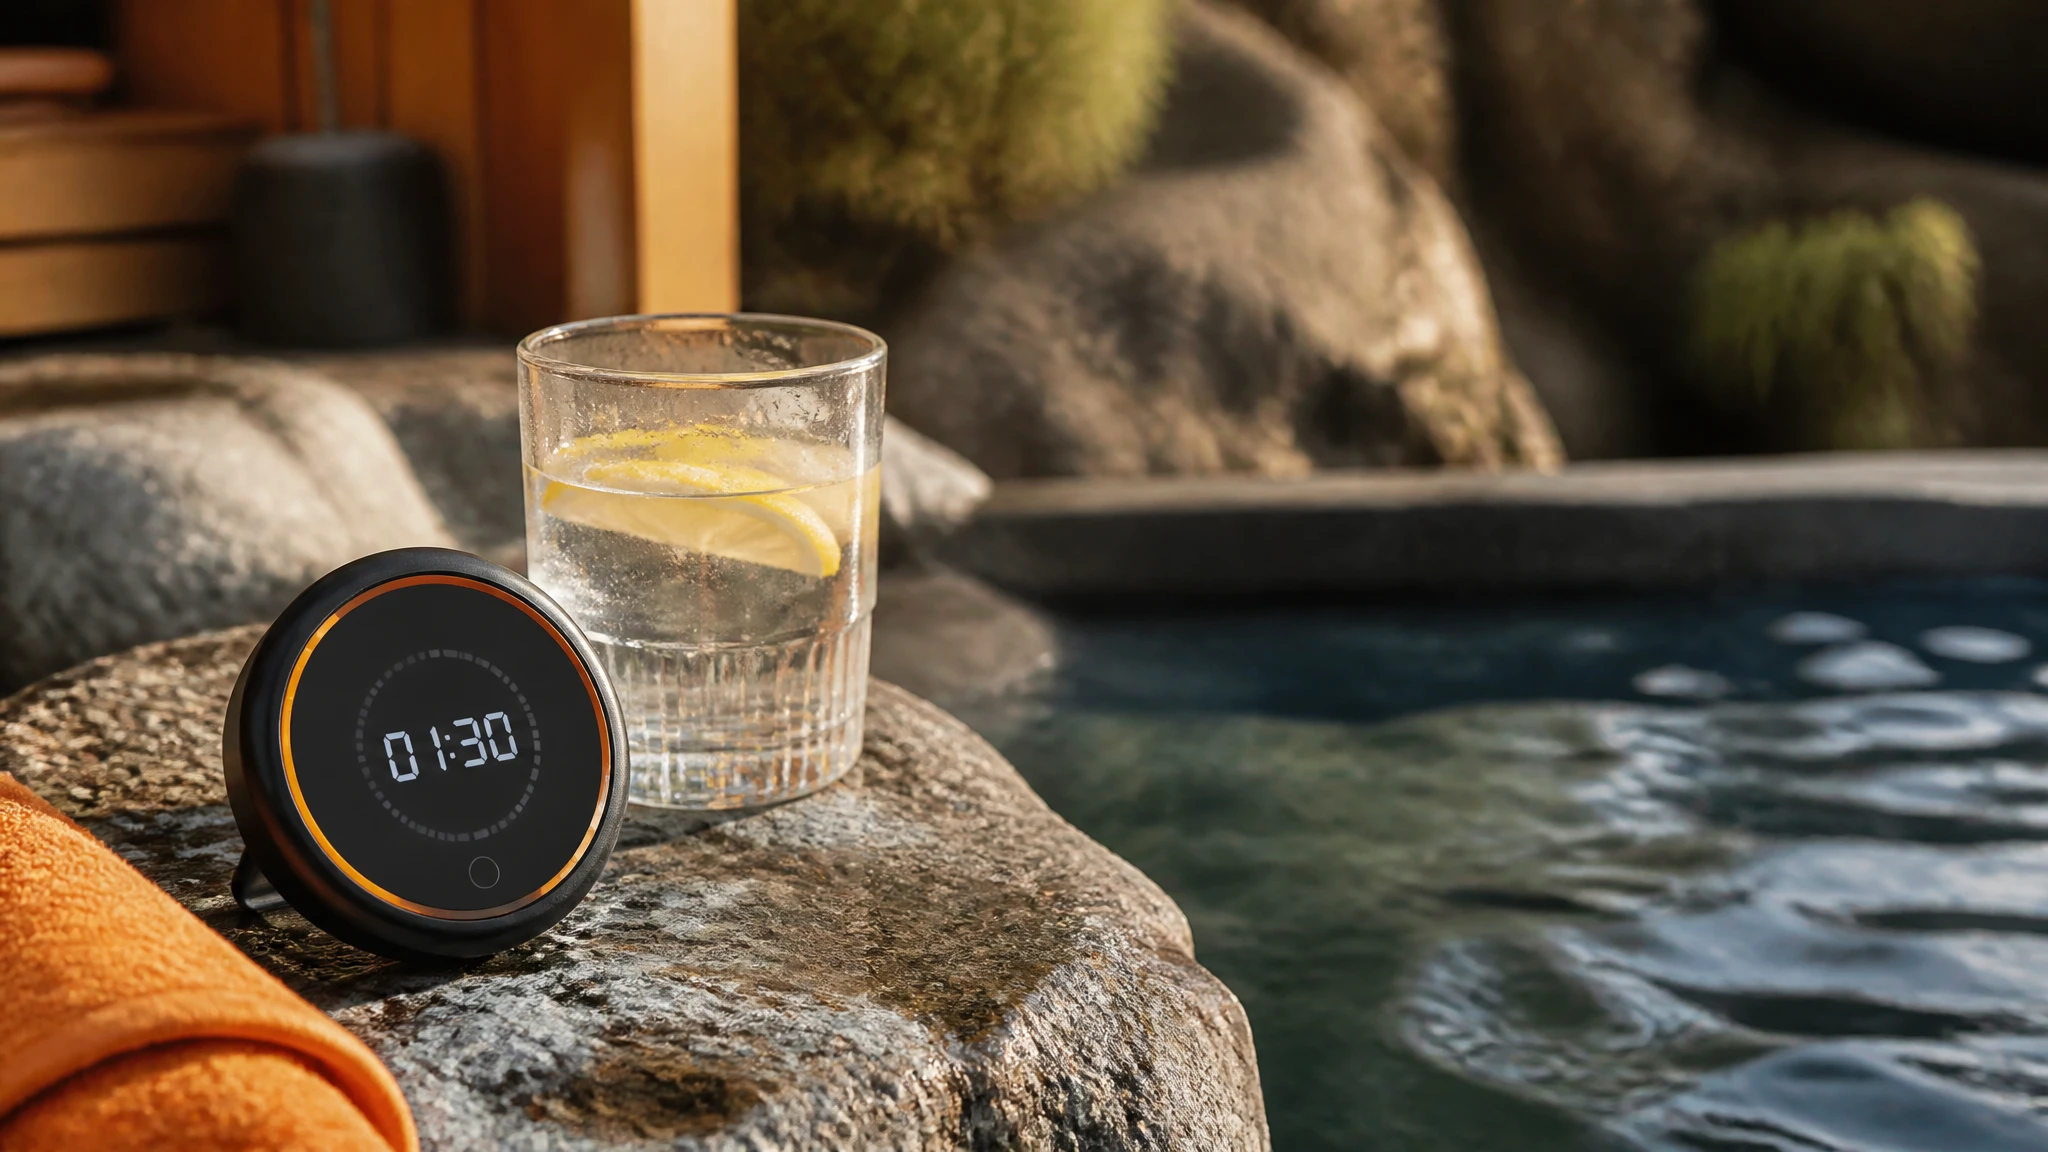
Tracking Your Sessions with SaunaMetrics
Developing a habit requires consistency, and one of the best ways to ensure consistency is to track your progress. When practicing a sauna and cold plunge routine, small adjustments in time and temperature can significantly alter how you feel during and after the session.
Consider logging these specific contrast routines in the notes section of SaunaMetrics. SaunaMetrics is a free sauna tracking tool that allows you to easily log your sessions, record temperatures, and track your routine over time. By keeping a detailed history of your heat exposure and cold plunge durations, you can observe trends in your endurance and document exactly which combinations leave you feeling the most restored.
Tracking helps you avoid the guesswork. Over time, you will build a personal database of what works best for your body, ensuring that every session is tailored to your current level of conditioning.
Best Practices for a Safe Session
Regardless of which protocol you choose, certain safety guidelines apply to every sauna and cold plunge routine.
First, always listen to your body. Contrast therapy is meant to be a deliberate challenge, but it should never cause pain, extreme dizziness, or nausea. If you feel unwell, step out of the environment immediately. There is no prize for forcing yourself through an extra minute of heat or cold if your body is signaling that it is time to stop.
Second, manage your breathing. In both the sauna and the cold plunge, your breath is your anchor. In the heat, slow breathing keeps your heart rate manageable. In the cold, controlled exhales prevent panic and hyperventilation.
Third, never practice contrast therapy under the influence of alcohol. Alcohol impairs your body's ability to regulate temperature and significantly increases the risk of dehydration, fainting, and accidents.
Post-Routine Recovery
The way you manage the time immediately following your session is just as important as the routine itself. The shift from extreme cold back to normal room temperature takes a significant amount of metabolic energy.
Continue to hydrate generously over the next few hours to replace lost fluids. While it might be tempting to jump into a hot shower immediately after your cold plunge, try to resist the urge if you want to maximize the metabolic benefits. Allowing your body to rewarm naturally forces your system to work efficiently.
Ultimately, a successful sauna and cold plunge protocol is one that leaves you feeling refreshed and capable. By following these practical steps, preparing properly, and tracking your metrics over time, you can build a sustainable, lifelong habit of contrast therapy.